
Custom placement test
Teachers have the ability to create placement tests in their custom courses. Once created and assigned, the placement test will unlock skills that students are already proficient in. Remember that students will not receive credit for unlocked lessons.
Step 1: Create custom placement test
Placement tests can be added by following these steps:
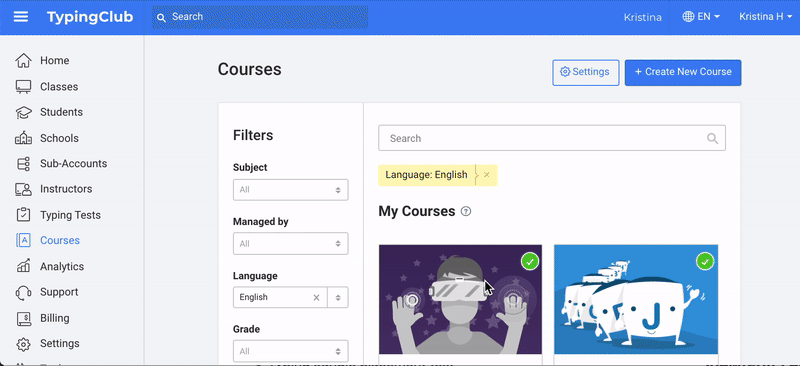
- Go to Courses.
- Select one of the courses listed under My Courses and click View/Edit Lessons. You won't be able to edit any of the courses managed by EdClub or other teachers.
- Click the plus sign to add a new lesson.
- Select a lesson type (the recommended lesson type is Standard Typing Engine).
- Enter your desired text and under Lesson Objective check This lesson is a placement test.
- When you're finished, save the lesson by clicking Save.
Step 2: Enable custom placement test for your class
Once the placement test has been created, you will go back to the specific class and enable it:
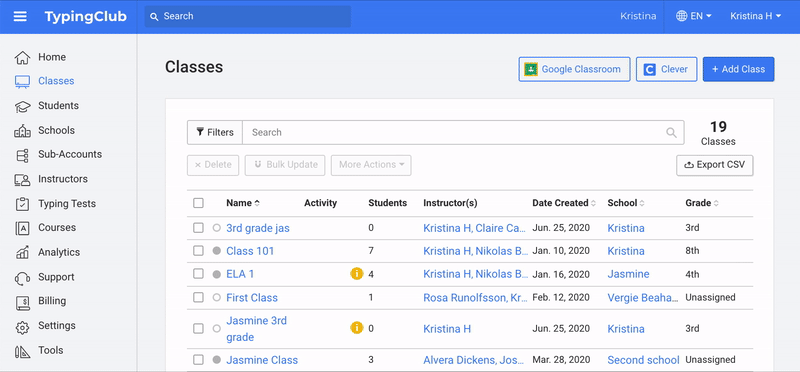
- Go to Classes and select your class.
- Click Assignments.
- Find custom courses in the list of courses assigned to your class and click Options.
- Click Enable Placement Test.
- Click Update Options to save your changes.
To view a student's placement test score, go to Students Your student Activity Log. Then select Placement Test from the dropdown. A class-wide placement test report is coming soon.
Note:
If you mark certain lessons in your course as placement test, this does not automatically mean that the test is active. The placement test must be enabled for each class. For example, if your custom course is used by other teachers, they'll have the placement test prepared, and they can decide whether or not they enable it for their own classes.